


close
Choose Your Site
Global
Social Media
Views: 264 Author: Maiwei Biotech Publish Time: 2026-10-17 Origin: Site


Content Menu
● Why a Contrast Injector Syringe Leakage Check Matters
● Before Inspection: Confirm Compatibility and Instructions
>> Verify the Exact Syringe and Injector Combination
>> Check Pressure Ratings Across the Fluid Pathway
● How to Check a Contrast Injector Syringe for Leakage: Seven Steps
>> 1. Inspect the Sterile Packaging
>> 2. Examine the Syringe Barrel and Outlet
>> 3. Inspect the Plunger Seal
>> 4. Load the Syringe Correctly
>> 5. Connect the Pressure-Rated Tubing
>> 6. Observe During Approved Filling and Priming
>> 7. Complete the Final Readiness Check
● What Counts as a Failed Contrast Injector Syringe Leak Check?
● Why Improvised High-Pressure Leak Tests Are Unsafe
● Expert Insight: Trace the Whole Pathway, Not Just the Syringe
● A Dry Syringe Does Not Rule Out Extravasation
● Turn a Suspected Leak into Useful Quality Evidence
● Selecting Contrast Injector Consumables with MAIWEI INC.
>> Can a contrast injector syringe leak without a visible crack?
>> Should I tighten a connector if it leaks?
>> Can a syringe that passed priming still leak during injection?
>> What pressure should I use for a syringe leakage test?
>> Is a pressure alarm proof of syringe leakage?
>> Can I reuse a single-use syringe if it does not leak?
>> Does checking for leakage also confirm that all air is removed?
To check a contrast injector syringe for leakage before use, inspect its packaging, barrel, plunger seal, outlet, and connecting tubing. Confirm compatibility with the injector, assemble the components according to their instructions for use, and observe the fluid pathway during approved filling and priming. If you notice unexplained moisture, cracks, loose connections, or fluid behind the plunger seal, stop preparation and replace the affected component.
At MAIWEI INC., we approach this subject from a manufacturer's perspective: a reliable contrast delivery system depends on both well-made consumables and correct preparation. A syringe that looks intact before filling still needs careful observation during setup.
This guide supports trained imaging professionals working with CT, MRI, and angiography consumables. It does not replace device-specific instructions, clinical training, or hospital procedures.
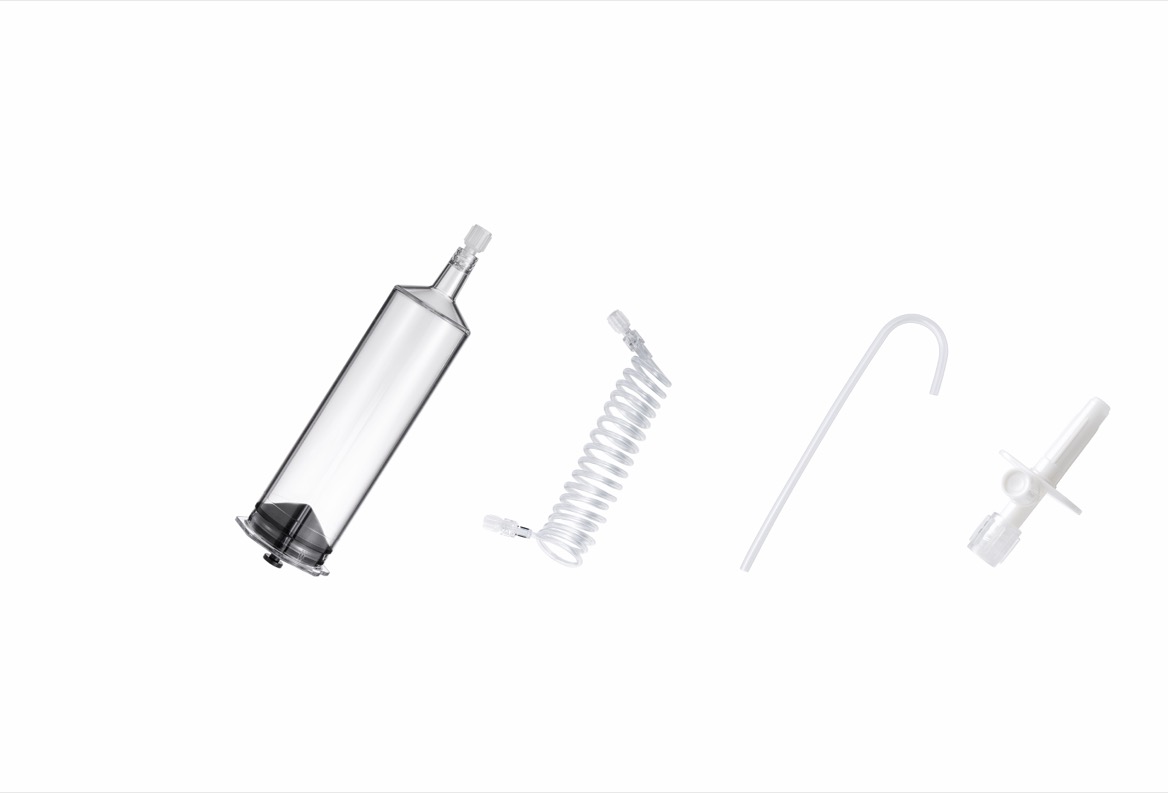
A contrast injector syringe is one part of a connected fluid pathway. That pathway may include extension tubing, valves, adapters, and the patient's vascular access device.
A leak anywhere along it can interrupt fluid delivery, contaminate the preparation area, or make the intended contrast administration unreliable. Loose or defective connections may also create opportunities for air introduction during preparation and handling.
However, three problems must remain distinct:
- Syringe leakage: fluid escapes through the barrel, outlet, or plunger seal.
- Connection leakage: fluid escapes where components join.
- Extravasation: injected fluid escapes from the vascular system into surrounding tissue.
A successful equipment inspection does not prove that vascular access is suitable. Both checks are necessary.
Do not assume that a syringe is compatible simply because it fits into the injector head.
Check the syringe's catalog number against the documented compatibility information for the intended injector model. Confirm the correct mounting arrangement, filling accessories, connecting tubing, and intended application.
Some injector manufacturers restrict use to specified supplies. A general supplier statement about compatibility should never override the applicable injector instructions.
For MRI applications, also verify the relevant MR safety labeling. A CT injector or accessory must not be assumed suitable for the MRI environment.
Review the labeled limits for the syringe, tubing, connectors, and vascular access device.
The planned procedure must remain within every applicable component limit. A higher-rated syringe does not make lower-rated tubing suitable for higher pressure.
There is no universal pressure, flow rate, or test duration for every contrast injector syringe. Use only the preparation and testing procedure specified for the actual system.
Before opening, check:
- Package seals and protective barriers.
- Tears, punctures, or other damage.
- Expiration date.
- Product identification and lot number.
- Evidence of unsuitable storage or handling.
Do not use a syringe with compromised packaging, even if the syringe itself appears undamaged.
Open acceptable packaging using the required aseptic technique. Avoid touching sterile fluid-contact surfaces.
Under adequate lighting, inspect the visible barrel, shoulder, outlet, and mounting features.
Look for cracks, chips, deformation, unusual surface damage, or an outlet that appears distorted.
Pay particular attention to the transition between the barrel and outlet. Also check the areas that engage with the injector.
Do not bend, squeeze, or stress the syringe to reveal a suspected defect. If its integrity is uncertain, set it aside and obtain a replacement.
Check the visible plunger and sealing area for damage, displacement, or an abnormal appearance.
After filling, inspect for fluid passing behind the sealing surface. Unexplained fluid in this area may indicate loss of seal integrity and should not be dismissed as harmless.
Do not disassemble the syringe, apply lubricant, or attempt to reposition a defective seal unless the manufacturer explicitly instructs otherwise.
A disposable syringe is not a repairable component.
Install the syringe using the injector's specified loading sequence.
Confirm that the syringe is fully seated and that any retaining mechanism is correctly engaged. Follow the instructions for plunger engagement and initialization.
If the syringe resists loading or sits unevenly, stop. Do not force it into place.
Incorrect seating can complicate operation and make it harder to determine whether a later problem originates in the syringe, mounting arrangement, or connection.
Inspect the tubing and connectors before attachment.
Check for cracked fittings, damaged threads, loose bonded joints, and tubing damage. Assemble connections as instructed, without cross-threading.
Secure does not mean excessively tight. Over-tightening can damage components. Do not use tools unless the applicable instructions explicitly require them.
Support the tubing so that it does not pull sideways on the syringe outlet.
Perform filling and priming in the sequence and orientation required by the injector manufacturer.
During the pre-patient preparation stage, observe:
- The outlet and first connection.
- The plunger sealing area.
- Tubing joints and adapters.
- Any valves included in the set.
- The full visible fluid pathway.
Look for fresh droplets or recurring wetness.
Distinguish a known filling spill from newly appearing fluid, while preserving asepsis and following the prescribed cleaning procedure. If the source remains uncertain, do not proceed.
Remove air according to the device instructions before patient connection. A leak check and an air-removal check are separate tasks; completing one does not complete the other.
Before patient connection and injection, verify that:
1. No unexplained leakage is visible.
2. No component appears damaged.
3. Connections and mounting are correct.
4. Air removal is complete according to the instructions.
5. The planned settings respect applicable device limits.
6. Vascular access has been assessed under the clinical protocol.
Repeat the relevant checks after replacing or reconnecting a component.
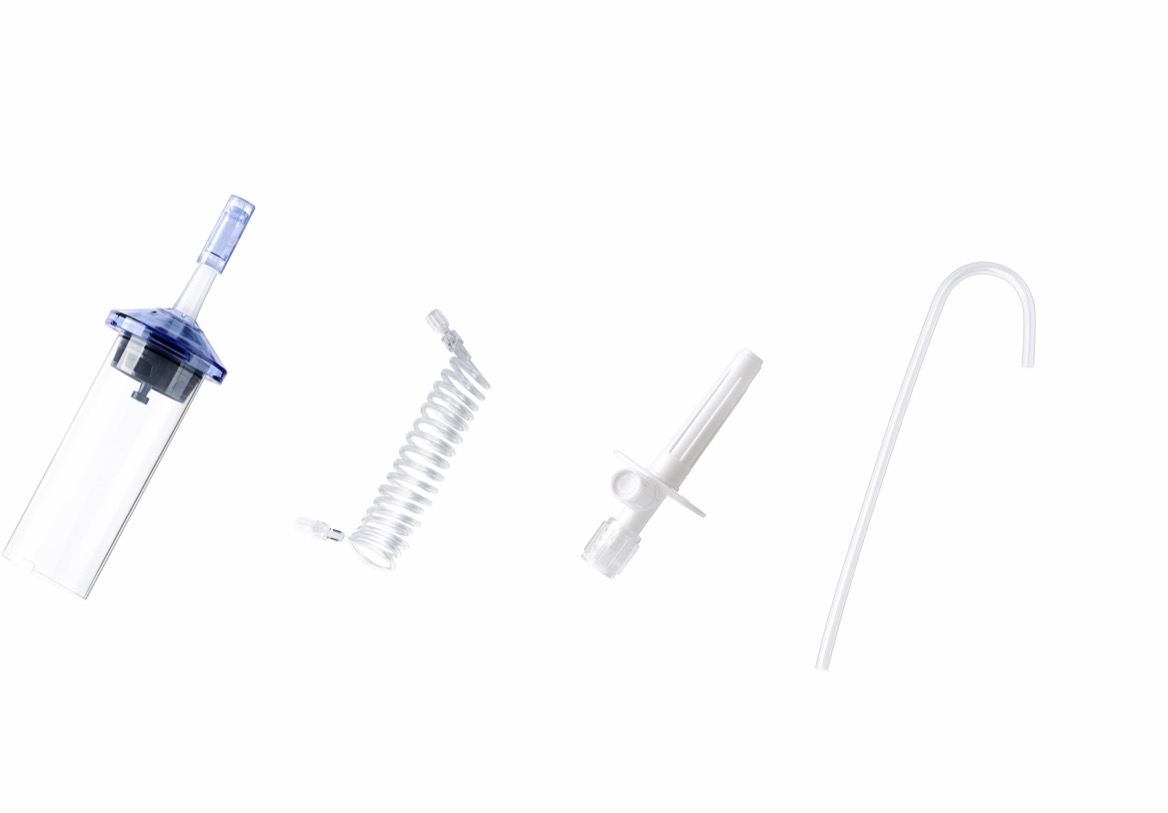
Use STOP as the decision point whenever fluid-path integrity is uncertain.
| Observation | Possible concern | Appropriate response |
|---|---|---|
| Fresh fluid at the syringe outlet | Damaged fitting or insecure connection | Stop preparation and assess according to the instructions |
| Fluid behind the plunger seal | Possible seal failure | Replace the syringe |
| Visible crack or deformation | Compromised component integrity | Do not use the component |
| Recurring moisture after a known spill is addressed | Possible continuing leakage | Do not connect to the patient |
| Damaged tubing or loose bonded joint | Compromised tubing assembly | Replace the affected assembly |
| Unexplained pressure alarm | Several possible system or access problems | Stop and investigate; do not assume leakage alone |
These observations support screening. They are not a substitute for a manufacturer's diagnostic procedure.
An alarm cannot reliably identify every leak, and an absence of alarms does not establish that the fluid pathway is intact.
A pre-use inspection is not the same as a manufacturing pressure-integrity test.
Do not block the distal tubing, cap the outlet, or increase pressure to "see whether the syringe holds." Such actions can create an unapproved closed system and expose components to inappropriate loading.
Likewise, do not choose an arbitrary pressure-hold time or test flow rate.
If the manufacturer specifies a dedicated integrity test, follow its exact setup, permitted accessories, limits, and acceptance criteria.
A normal-looking priming step cannot certify performance under every subsequent injection condition. Continued observation and appropriate monitoring remain necessary.
From a manufacturing-quality perspective, "the syringe is leaking" is an observation that needs localization—not an immediate root-cause conclusion.
Consider an illustrative setup scenario: a technologist notices moisture near the syringe tip during priming. The actual source could be the outlet, a tubing connector, or fluid spilled during filling.
The useful question is: where does new fluid first appear?
A systematic visual sequence helps:
1. Start at the syringe barrel and seal.
2. Follow the outlet into the first connector.
3. Continue through each tubing joint.
4. Inspect the remaining visible line.
Do not manipulate a pressurized connection to locate a leak. Stop operation and follow the device's safe handling procedure.
This approach helps avoid replacing the wrong component while leaving the actual defect unresolved.
An intact syringe and tubing assembly cannot establish that contrast will remain inside the patient's vessel.
Extravasation involves the vascular access site, catheter, or vessel—not necessarily the disposable injector assembly.
Clinical preparation must therefore include assessment of access suitability for the intended injection. Catheter labeling, permitted flow and pressure, access location, and local protocol all matter.
Any required saline assessment or test injection must follow the clinical protocol and applicable device instructions. It is not an improvised syringe pressure test.
If pain, swelling, or another concern develops during administration, stop the injection and obtain clinical assessment according to hospital procedures.
A discarded defective component can become a missed opportunity to identify a recurring issue.
When feasible and consistent with infection-control requirements, document:
- Product and catalog number.
- Lot number and expiration date.
- Injector model.
- Tubing and accessory identification.
- Stage at which leakage appeared.
- Exact location and observed behavior.
- Relevant settings, alarms, and photographs permitted by policy.
Handle affected products under the facility's complaint and quarantine procedures. Do not retain contaminated materials informally.
Repeated events should prompt coordinated review of product compatibility, assembly technique, storage conditions, injector condition, and possible product defects.
For distributors and OEM customers, lot-level traceability makes this investigation more actionable.
MAIWEI INC. develops and manufactures high-pressure injector syringes, connecting tubing, and related consumables for CT, MRI, and angiography applications. According to the company information supplied for this article, it serves hospitals, distributors, and OEM customers across more than 60 countries and regions.
For purchasing teams, the practical priority is product-specific documentation.
Request compatibility information, instructions for use, pressure ratings, traceability details, and the regulatory documents applicable to the exact product and destination market.
ISO 13485 certification, CE marking, and FDA 510(k) clearance serve different purposes. They should not be treated as interchangeable guarantees or substitutes for pre-use inspection.
Contact MAIWEI INC. with your injector model, intended application, and destination market to request the corresponding syringe and tubing specifications before purchasing or evaluating samples.
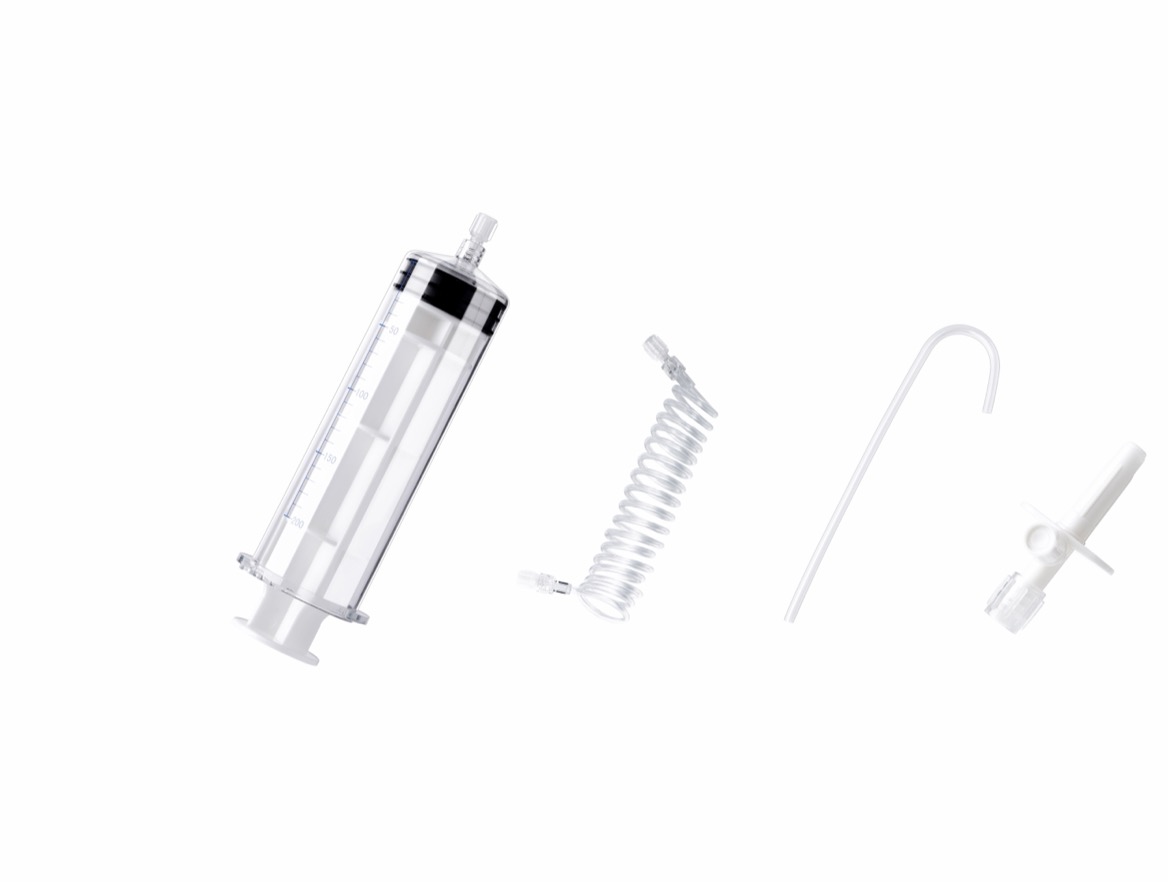
Yes. Leakage may originate at a connection or plunger seal rather than a visible barrel defect. Inspect the complete fluid pathway during the approved preparation sequence.
Stop operation first. Follow the manufacturer's troubleshooting instructions. Do not tighten a pressurized connection, use excessive force, or continue with a damaged fitting.
Yes. Passing visual inspection and priming does not guarantee integrity under all later conditions. Follow the specified preparation procedure and remain alert during administration.
Use only the pressure and procedure explicitly specified for that system, if a dedicated test is required. There is no universal bedside test pressure.
No. Pressure alarms can have several causes. Stop and investigate the system and vascular access according to the applicable instructions and clinical protocol.
No. Leak-free appearance does not establish sterility or authorize reuse. Follow the product's single-use labeling and disposal requirements.
No. Inspecting for leaks and verifying air removal address different hazards. Both must be completed according to the injector and consumable instructions before patient connection.
- Bracco Injeneering S.A. *EmpowerCTA®+ Injector System User's Guide*, document 901176-001, revision 01, February 2014. Relevant sections include packaging inspection, secure connections, over-tightening precautions, single-use items, and air removal. This model-specific manual illustrates safety principles; users must consult the current instructions for their own system. [appliedradiology]
- Pennsylvania Patient Safety Authority. *Venous Air Emboli and Automatic Contrast Media Injectors*. Patient-safety advisory addressing air-entry mechanisms, reported events, and the limitations of relying on equipment safeguards alone. [patientsafety.pa]
- American College of Radiology and Society for Pediatric Radiology. *ACR–SPR Practice Parameter for the Use of Intravascular Contrast Media*. Relevant guidance addresses vascular access suitability, power-injection compatibility, and intended injection rate and volume. [gravitas.acr]
- UCSF Department of Radiology and Biomedical Imaging. *CT and X-ray Contrast Guidelines: Information*. Clinical guidance covering vascular access preparation, injection-site observation, and stopping injection when extravasation is suspected. [radiology.ucsf]
- Roditi, G., et al. *Intravenous contrast medium extravasation: systematic review and updated ESUR Contrast Media Safety Committee Guidelines*. European Radiology, 2022. Discusses preparation, catheter limits, and prevention of contrast extravasation. [pmc.ncbi.nlm.nih]
- U.S. Food and Drug Administration. *Premarket Notification 510(k)*. Explains substantial equivalence and the meaning of clearance for commercial distribution. [fda]