


close
Choose Your Site
Global
Social Media
Views: 264 Author: Maiwei Biotech Publish Time: 2026-11-21 Origin: Site


Content Menu
● Why Air Removal Matters Before CT Contrast Injection
● Before You Begin: Confirm the Equipment and Instructions
>> Verify the Exact Syringe–Injector Combination
>> Prepare a Clean, Well-Lit Inspection Area
● How to Remove Air From a CT Contrast Injector Syringe
>> Step 1: Install and Engage the Syringe Correctly
>> Step 2: Position the Injector for Filling
>> Step 3: Fill Using the Approved Method
>> Step 4: Collect and Expel Residual Air
>> Step 5: Connect and Prime the Tubing
>> Step 6: Perform a Complete Visual Inspection
>> Step 7: Complete the Required Air-Check Confirmation
● A Pre-Connection Air-Removal Checklist
● Troubleshooting Persistent or Recurring Air Bubbles
>> Bubbles Remain Near the Syringe Tip
>> Air Remains in One Branch of a Dual-Syringe Set
>> Bubbles Reappear After an Initial Inspection
● Three Details That Deserve More Attention
>> 1. Air Removal and Sterility Are Separate Requirements
>> 2. Operator Handoffs Need Explicit Verification
>> 3. An Air-Check Button Is Not an Air-Free Certificate
● Selecting CT Injector Consumables That Support Preparation
● Request Model-Specific Compatibility Support
>> Can I Remove Air While the Injector Is Connected to the Patient?
>> Should I Tap the CT Injector Syringe to Release Bubbles?
>> Is a Clear Syringe Enough to Confirm Readiness?
>> Does Automatic Priming Replace Visual Inspection?
>> What Purge Volume Should I Use?
>> What Should I Do if Air Cannot Be Cleared?
To remove air from a CT contrast injector syringe before use, trained personnel must keep the patient disconnected, follow the injector's specified filling and air-removal procedure, prime every required fluid pathway, and visually inspect the complete assembly before patient connection. A clear syringe barrel alone does not confirm that the connectors and tubing are free of air.
At MAIWEI INC., our manufacturing perspective is straightforward: syringe compatibility, fluid-path visibility, and clear instructions should support—not replace—a disciplined clinical preparation process.
This guide explains the principles behind CT contrast injector air removal. It is intended for trained healthcare professionals and does not replace the current instructions for use supplied with the injector, syringe, tubing, contrast medium, or vascular access device.

Residual air in a power-injection fluid pathway creates an air embolism hazard. Injector manufacturers warn that injecting air can cause serious injury or death.
The inspection must therefore extend beyond the syringe to include:
- The syringe tip and outlet.
- Contrast and saline connectors.
- Both branches of a dual-syringe assembly.
- Extension tubing and patient-side connections.
- The vascular access pathway, as addressed by its instructions and local policy.
The practical objective is not simply to make bubbles less noticeable. It is to remove trapped air throughout the intended fluid pathway before connecting the injector assembly to the patient.
There is no universal bubble-size threshold that operators should use to waive an unresolved finding.
Confirm that the syringe and disposable set are specifically intended for the injector model and configuration in use.
Do not determine compatibility from appearance or nominal syringe capacity alone. Review:
- Injector model and required adapters.
- Syringe attachment and piston engagement.
- Permitted pressure and flow conditions.
- Connector and tubing specifications.
- Intended single-use or other explicitly authorized configuration.
For procurement teams, a compatibility statement should identify the actual device combination, not merely describe a product as suitable for "major brands."
Use aseptic technique and check sterile packaging, expiration dates, and component condition before assembly.
Arrange the fluid pathway so that the syringe tips, junctions, and tubing remain visible. If a label, hand position, or tubing arrangement obscures inspection, correct the setup before proceeding.
Patient disconnection is essential during filling, purging, and other preparation movements identified in the injector instructions. Never use a connected patient line as an outlet for expelled air.
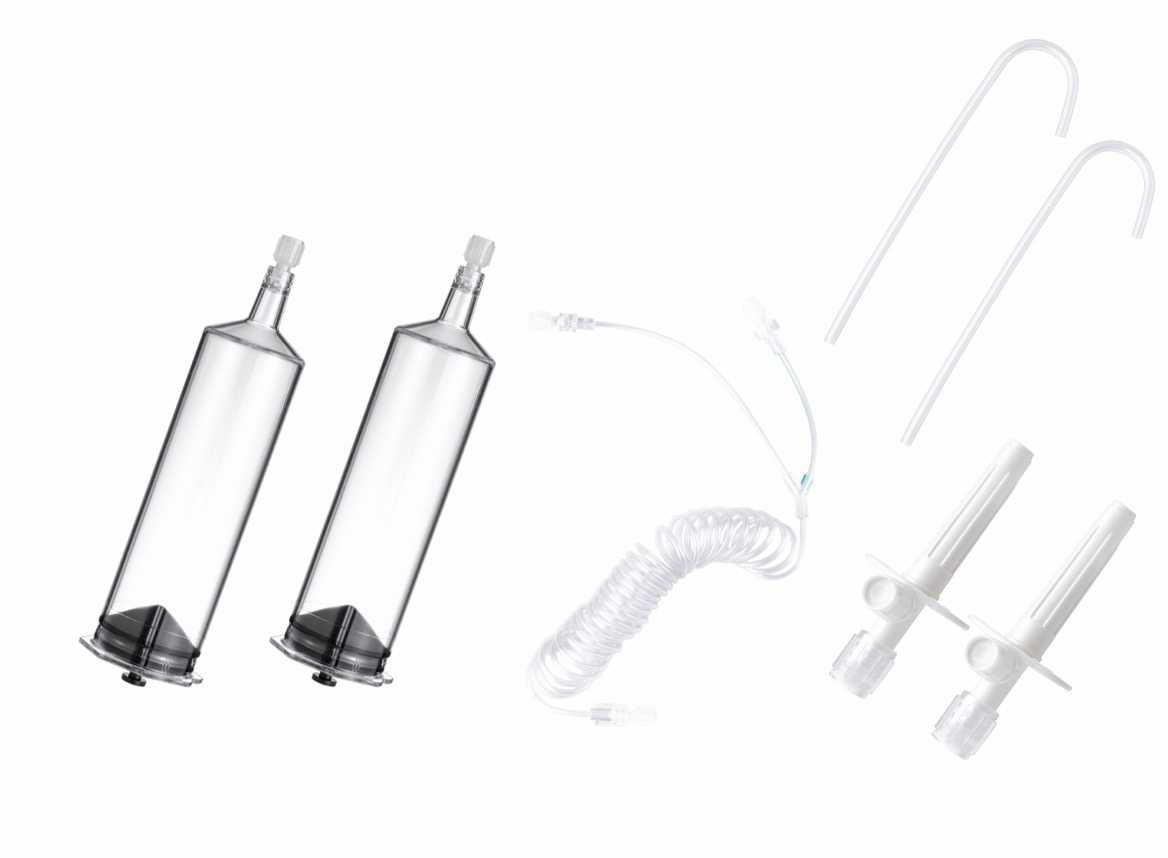
The following sequence describes general safety principles. Exact control buttons, filling methods, priming order, and injector-head positions remain device-specific.
Check that the syringe is seated and locked according to the injector instructions. Confirm any required adapter, pressure jacket, or piston engagement.
An incorrectly installed syringe is not a problem to compensate for during priming. Stop and correct the installation before filling or moving the plunger.
Inspect the syringe and connections for visible damage or contamination. Replace questionable components rather than attempting an improvised repair.
Use the filling orientation specified by the manufacturer.
For example, certain MEDRAD Stellant instructions describe air removal with the syringe pointing upward. This allows air to gather near the outlet for expulsion.
However, that example is not a universal instruction for every CT injector. Head design, disposable architecture, and automated preparation functions differ.
Do not transfer a familiar procedure to another injector without checking its current manual.
Use the specified filling device and manual or automated filling controls.
Follow the manufacturer's instructions for drawing contrast or saline into the syringe. Do not improvise a loading method because another syringe system appears similar.
After filling, inspect the barrel, plunger-facing area, and syringe tip. Look for isolated bubbles as well as clusters.
For dual-syringe systems, evaluate the contrast and saline syringes separately. Completing one side does not establish that the other side is ready.
Use the device-specific method to gather residual bubbles and expel them through the designated outlet while the patient remains disconnected.
Do not assume that tapping is permitted. Some injector instructions specifically prohibit hitting the syringe and instead describe a controlled plunger movement and injector-head rocking technique.
Other systems describe different handling methods. These differences are why a generic instruction to "tap the syringe firmly" is inappropriate.
Any prescribed plunger movement, rocking technique, or purge volume must come from the applicable instructions—not from a general article.
Attach the approved disposable tubing using aseptic technique and the specified connection sequence.
Prime the required pathway using the manufacturer's controls and prescribed order. For a dual-syringe system, this includes the relevant contrast branch, saline branch, junction, and common extension tubing.
Observe the pathway during priming. Fluid exiting the distal end does not, by itself, prove that every side branch or connector cavity is free of trapped air.
Do not substitute a fixed purge volume from another injector or tubing set.
Before patient connection, trace the intended fluid pathway from each syringe toward the patient end.
Inspect:
1. Each syringe barrel and tip.
2. Syringe-to-tubing connections.
3. Both branches of any Y- or T-connector.
4. The full extension-tubing length.
5. The distal connector.
If air remains, keep the patient disconnected and repeat the applicable removal procedure. If adequate inspection or air clearance cannot be achieved, stop and follow the facility's escalation process.
Some injectors require an operator to acknowledge a "Check for Air" prompt before arming.
Treat that confirmation as documentation that inspection has occurred—not as proof that the machine has independently verified every component.
Follow the specified transition to patient connection and injection orientation. For systems requiring the head to point downward during injection, make that change at the stage described in the manual.
A short checklist helps organize attention during a busy preparation workflow.
| Checkpoint | What to verify | If unresolved |
|---|---|---|
| Compatibility | Correct syringe, adapters, and tubing | Stop and verify the combination |
| Installation | Syringe and piston correctly engaged | Correct installation before continuing |
| Syringes | No residual air identified during inspection | Repeat the prescribed air-removal procedure |
| Branches and junctions | Required pathways fully primed | Reinspect and prime as instructed |
| Extension tubing | Entire length visible and inspected | Correct visibility or priming problems |
| Connections | Secure, intact, and appropriately handled | Correct or replace affected components |
| Final confirmation | Required inspection and acknowledgment completed | Do not proceed to injection |
This checklist supplements the equipment instructions and departmental procedure; it does not replace either.
Recheck the permitted filling orientation and air-removal technique.
A clear barrel can distract from a small pocket near the outlet. Improve visibility and inspect the tip directly.
Do not insert tools, loosen components arbitrarily, or use excessive force to dislodge bubbles.
Revisit the prescribed priming sequence.
The key distinction is between filling the common extension line and priming every required branch. One can appear complete while the other remains unresolved.
Trace each branch independently, then inspect the junction and shared tubing again.
Pause and review what changed after the check: refilling, piston reversal, reconnection, or component replacement.
Repeat the affected preparation and inspection steps according to the instructions. Do not rely on an earlier air-check acknowledgment after subsequent actions have altered the fluid pathway.
If air keeps recurring, take the affected setup out of use pending assessment under local procedures.
A completely primed line can still be unsuitable if its sterile connection has been compromised.
Likewise, an aseptically assembled system still requires complete air removal.
Staff must satisfy both requirements. Do not reuse a single-use syringe or tubing set beyond its labeling, and never assume that changing a connector makes a previously used disposable suitable for another patient.
If preparation changes hands, the incoming operator should not infer readiness from a filled syringe or a previous screen acknowledgment.
The handoff should establish:
- Which syringes have been filled.
- Which pathways have been primed.
- Whether connections or components changed.
- Whether the complete air inspection remains valid.
The incoming operator must perform the verification required by the applicable instructions and local policy before proceeding.
Human confirmation, automatic preparation functions, and any installed detection features have different roles.
Know what the particular injector actually checks and what remains the operator's responsibility. Never infer that an acknowledgment button is an air sensor.
The defensible endpoint is completion of the manufacturer-required preparation and inspection process—not simply reaching an "armed" screen.
From our perspective as a consumables manufacturer, purchasing decisions should support reliable preparation rather than focus only on price per syringe.
Ask suppliers for:
- Model-specific compatibility documentation.
- Applicable pressure ratings and use limitations.
- Clear instructions for assembly, filling, and priming.
- Sterile-packaging and shelf-life information.
- Product identification and lot traceability.
- Market-specific regulatory documentation.
ISO 13485, CE marking, and FDA 510(k) clearance address different quality-system or regulatory matters. They are not interchangeable, and they do not remove the need to verify a particular product's intended use.
MAIWEI INC. develops and manufactures high-pressure injector syringes, connecting tubes, and related consumables for CT, MRI, and angiography applications. Our company information describes exports to more than 60 countries and regions, serving hospitals, distributors, and OEM customers.
For a purchasing review, request the documentation applicable to the exact product and destination market rather than assuming every credential covers the entire portfolio.
Contact MAIWEI INC. with your injector manufacturer, model, syringe configuration, tubing requirements, and destination market.
Request the matching product specifications, instructions for use, and applicable regulatory documents so your clinical and procurement teams can evaluate the proposed consumables together.
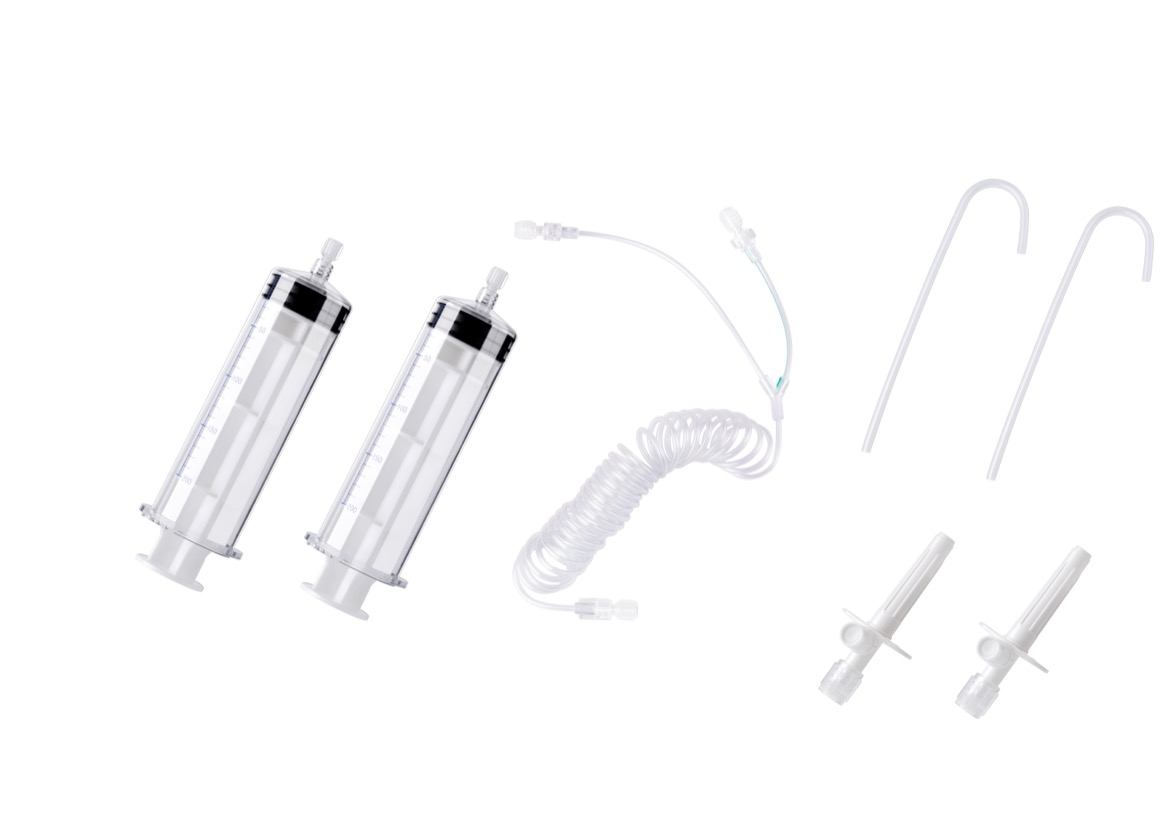
Do not purge air toward a connected patient. Perform filling and air-removal operations with the patient disconnected, as required by the equipment instructions. If air is identified after connection, stop and follow the device instructions and local clinical procedure before further manipulation.
Not unless the applicable instructions permit it. Certain systems explicitly prohibit hitting the syringe and specify another technique. Follow the exact method for your injector and disposable combination.
No. Air may remain in the syringe tip, connector branches, junctions, or extension tubing. Inspect the complete required fluid pathway before connection.
Do not assume so. Complete every inspection and confirmation required by the manufacturer, even when automated filling or priming functions are available.
There is no universal volume for all systems. Use the instructions for the actual injector and disposable configuration. A volume specified for another system is not a valid substitute.
Do not proceed to injection. Keep the patient disconnected from preparation operations and escalate according to local policy. Replace questionable disposables or obtain equipment support as appropriate.
1. Bayer. *MEDRAD Stellant CT Injection System with Certegra Workstation—Operation Manual*, Simplified Chinese edition, Section 9.2. Supports the discussion of patient disconnection, syringe air removal, tubing priming, visual inspection, and air-check confirmation. Use the current local-language manual for the installed system. [radiology.bayer]
2. Bayer. *MEDRAD Spectris Solaris EP MR Injection System—Operation Manual*. Supports the discussion of air-embolism warnings, complete fluid-path inspection, and device-specific handling differences. This MR manual is contextual evidence, not a CT operating procedure. [radiology.bayer]
3. Bayer. *MEDRAD Mark 7 Arterion Injection System—Operation Manual*. Demonstrates that permitted bubble-removal techniques and purge requirements differ between systems. This angiography manual must not be substituted for CT injector instructions. [radiology.bayer]
4. Centers for Disease Control and Prevention. *Preventing Unsafe Injection Practices*. Updated May 20, 2025. Supports aseptic preparation and restrictions on syringe reuse between patients. [cdc]
5. U.S. Food and Drug Administration. *510(k) Clearances*. Explains the premarket-notification framework relevant to product-specific regulatory documentation. [fda]